
This help article contains all the information you need to set up your new classes in September. There are the following sections:
1. MIS or CSV?
2. MIS set up
3. Information for schools using Arbor
4. CSV set up
1. MIS or CSV?
Does your school use a CSV file to upload new classes or can you sync with your MIS directly? (e.g. SIMs, Arbor, Bromcom...)
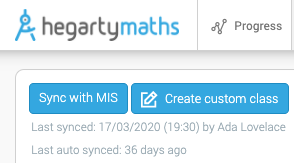
To find out which, go to Manage -> Manage students/classes
If you see these buttons, go to the next section, 'MIS set up':
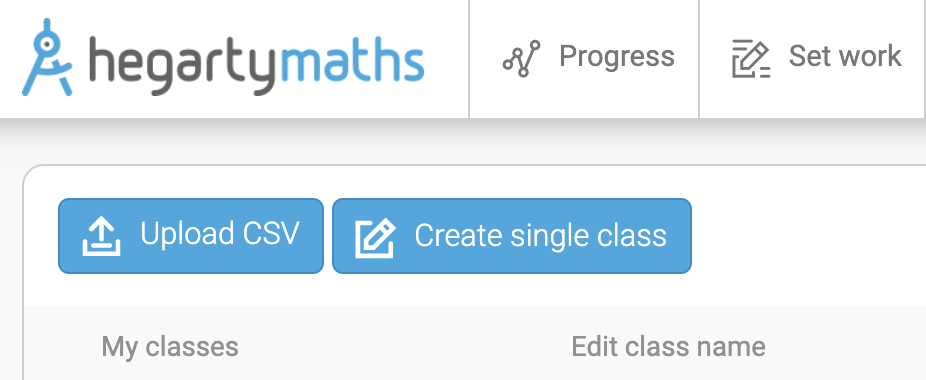
If you see these buttons, scroll down to the section 'CSV set up':
2. MIS set up
If you are set up with an MIS link, HegartyMaths syncs with your school's MIS to upload new classes. This is not automatic at the beginning of the year; please follow the instructions on this help page to sync your classes.
Note: The first sync of the year will delete the old class lists and bring in the new classes. You may receive one of these warning messages, but you should continue with the sync:
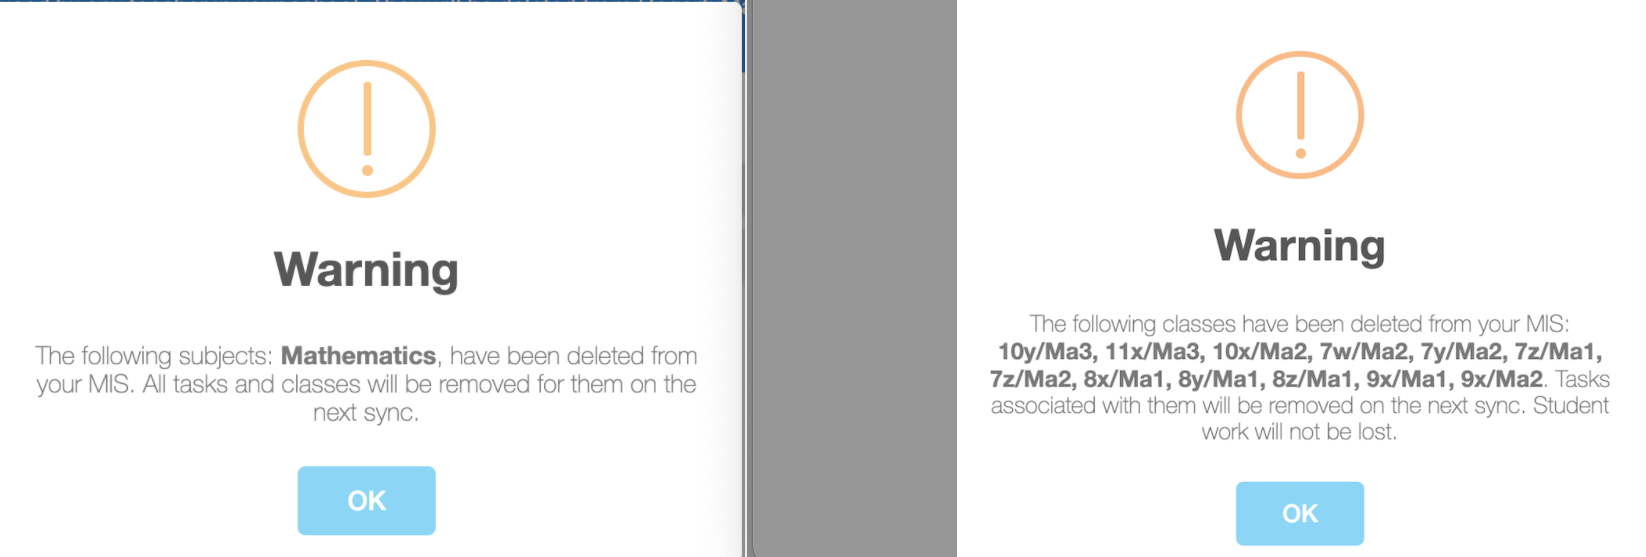
The messages indicate that some or all of the existing classes will be removed from HegartyMaths. Don't worry though, as they will be replaced by the new classes on your registration system. It's also worth noting that the tasks that are currently assigned to the classes listed in these messages will be deleted, however, this will not affect any data that students have accumulated from tasks they have already completed.
3. Information for schools using Arbor
If you are using arbor, and you add students via an MIS sync, there is an extra step to follow during set-up. This article explains how your network manager can prepare the classes correctly.
4. CSV
Follow this guide to put your students into their new year groups and classes for the next academic year.
Note: it is vital that your data is accurate when you perform this action. HegartyMaths cannot guarantee support to fix lost data in the event that student details are inaccurate on our site.
Please refer to the following video if you need help getting data from SIMs into a compatible CSV.
End of Year Transition
For this guide, we will be looking at an example school which at present has one class. Year 7 students are moving to Year 8. There will also be an intake of new Year 7 students which we will put into the 7Ma/3 class.
The current students in the school in Year 7 are as follows:

1. Use SIMs (or your school's MIS) to prepare a CSV document that captures the state of the school in the new academic year. Current students will have moved up to their new classes and there will be a fresh intake of your youngest year (e.g. Year 7). Please use this CSV template.
Please note, class size is limited to 45 students.
As you can see from this CSV, our school is welcoming Natalie, Freddy, and Yoshi into Year 7. Existing students were moved up to Year 8. Morgan Mole also had a legal name change to Morgan French - our system will detect this automatically.

2. Click Manage => Manage students/classes => Upload CSV.

3. Click on the circle to pick your CSV, once picked, click continue to proceed to the next step.

4. Click on the first dropdown menu ("Please select...") and choose the option that corresponds to the column.
In the example below the first column is the class name. Please note this will not necessarily be the same for your data so take extra care to pick the option that applies to you.

5. Repeat step 5 for all the columns and click continue when you are finished.
If you get a column wrong, you can fix the mistake by clicking the 'Unlock' button and then selecting the appropriate option in the dropdown.

6. The system tries to automatically match new students to existing students, however, you may need to help the system in some cases. For Morgan, we need to manually match him because of the change in his surname.

8. On the archive classes page, you are asked to pick old classes that will no longer be running. In this case, last year's Year 7 class (7Ma/2) should be ticked. This does not affect the incoming Year 7 class, which will be a fresh class.

9. Finally, verify the data looks correct and enter your password. Click 'Complete setup' to finalise the changes. If the data looks incorrect please do not complete the setup.
